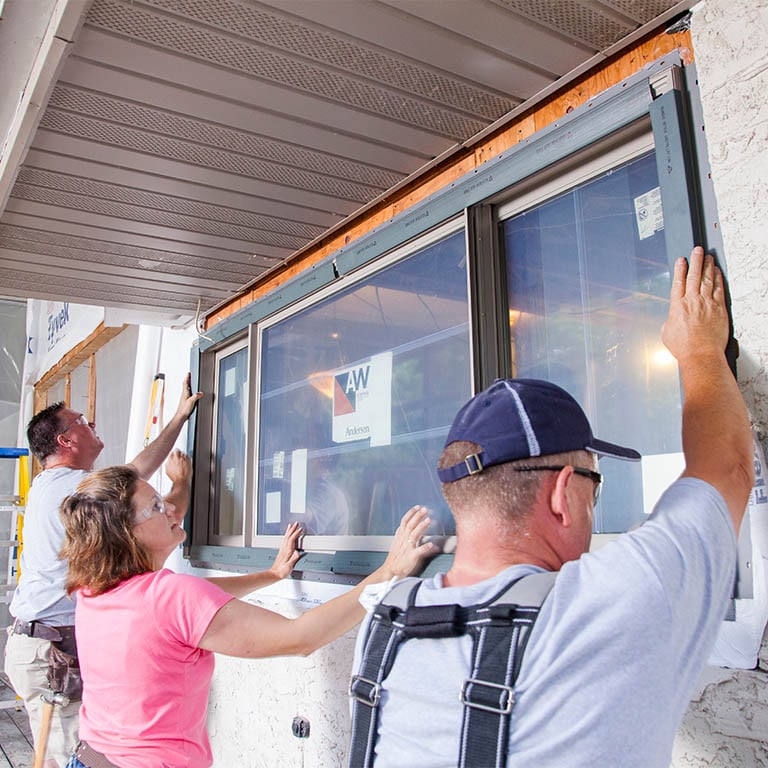
DIY Installation
Installation Instructions
Get installation instructions for your window or door. Instructions include preparing the rough opening, sealing, shimming, fastening, flashing and water management.
Project Examples
Should You Do It Yourself?
1. Window Installation Skills
Do you have the necessary skills to replace your own windows? The level of skills needed to replace your own windows can vary, depending on the replacement project type. Installing a full-frame replacement window, for example, is more complex than installing an insert replacement window. An insert replacement window allows you to keep the existing window frame and trim, whereas a full-frame replacement window requires a complete tear-out and replacement of the existing one. A good place to start for determining the magnitude of a replacement project (and if your skills match the project) is to review the product installation instructions or watch our installation videos.
2. The Right Tools
Do you have the right tools to do the replacement job yourself? Andersen window installation guides provide product-specific lists of the required tools and materials, but most installation projects require a few standard tools:
- Safety glasses
- Caulk gun
- Waterproof shims
- Tape measure
- Level
- Hammer
- Power drill/driver
- Screwdriver
- Putty knife
- Utility knife
- Small pry bar
3. A Realistic Schedule
Do you have enough time to set aside for your project? A full-frame window replacement requires at least 4 to 6 hours per window on the ground level—and more for windows on upper floors. Insert windows may require less time. It’s always best to set aside additional time for reading through your installation guides thoroughly.
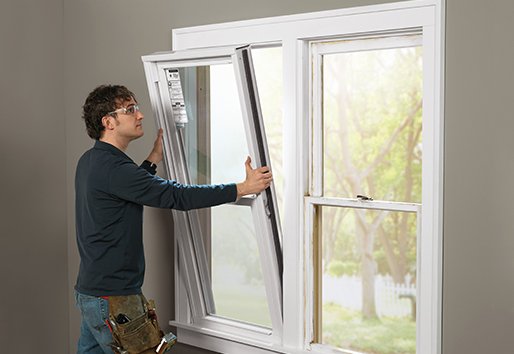
Insert Windows
Best for:
• Preserving interior and exterior window trim
• Situations where the original window frame is solid and free of decay
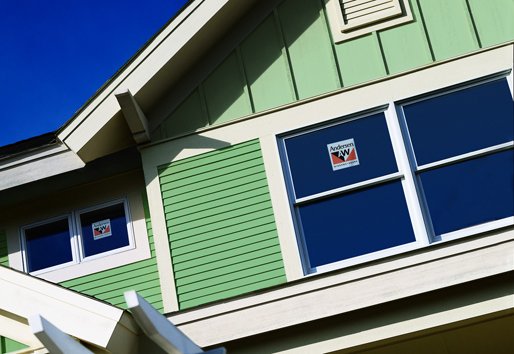
Full-Frame Windows
Best for:
• Modifying the size and/or shape of the window
• Replacing rotted or deteriorated window frame
• Adding or changing interior and/or exterior trim

Narroline® Window Conversion Kit
Designed specifically to retrofit existing Narroline® windows (1968 and newer), turning them into easy-to-clean tilt-wash double-hung windows

Patio Doors
Almost all Andersen® patio doors offer custom sizing to fit virtually every application. Choose from inswing, outswing or gliding configurations, plus a variety of options and accessories
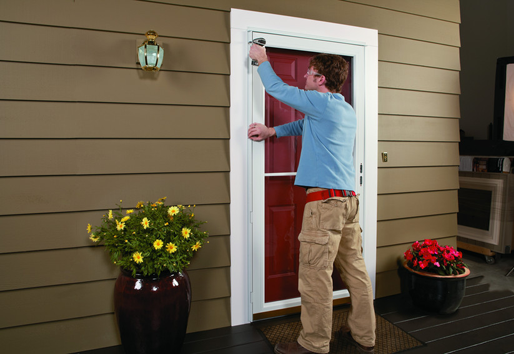
Storm Doors
Choose from a selection of storm doors designed to be installed with basic skills and tools.
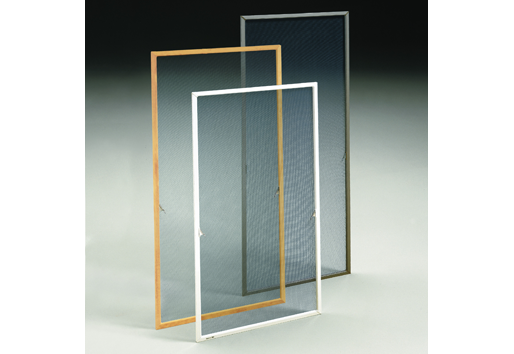
Insect Screens
Learn how to install insect screens on Andersen® products
Helpful Terms
Common installation terms are listed below. Visit the full glossary for additional information
Fastening: Windows/Doors must be fastened to a structural member in the rough opening. Fastener type and attachment method are dependent on a number of factors such as window/door type, assemblies, wall type, construction type, structural anchoring material, location, and fastener embedment depth.
Flashing: Windows/Doors must be flashed to integrate the window/door into the drainage plane. Flashing must be applied shingle fashion to direct water to the exterior. Flashing materials may be straight or formable self-adhered tape or liquid applied. The water management system may be of the drainage or barrier type.
Opening Preparation: Openings must be sized to accommodate the window/door and to allow adequate room for squaring, shimming, insulating the window/door or assembly; and any additional allowances that must be made to include flashing material stack-up, and joining materials and fasteners.
Sealing: Windows/Doors must be sealed to the drainage plane and rough opening. Backer rod is used to limit the sealant depth between the window frame and the rough opening, cladding, or trim. Sealant is used to prevent water and air infiltration by bridging the gap between the rough opening, window frame, and installation flange. Low expanding foam can also be used to provide an air seal between the window/door frame and the rough opening.
Shimming: Windows/Doors are shimmed to plumb, level, and square the window/door in the rough opening properly and to space the window frame off the rough sill.
Water Resistive Barrier (House Wrap): Windows/Doors must be integrated with a water resistive barrier. Water resistive barriers may be applied before or after window/door installation. Water resistive barriers may be of the house wrap type or liquid application.
Disposing Of Your Old Windows
Window And Door Removal Instructions
NOTICE: Buildings constructed prior to 1978 may contain lead paint which could be disturbed during window replacement. For more information on proper management of lead paint, visit www.epa.gov/lead.

